One of the key elements in bringing a theatrical production to life is the use of masks. Masks are not only visually stunning, but can have a strong symbolic and emotional impact on a production. Masks are also a key part of theatre training, as they entice the actor into exploring physical expression.
While professional theatre companies may have the resources to commission custom-made masks, creating your own mask can be a fulfilling and cost-effective option, particularly if you’re part of an amateur theatre group, or you need a specific style or design.
In this tutorial, we’ll explore the process of making a theatre mask, from materials and techniques to design and customization. This step-by-step guide hopes to provide you with the knowledge to create your own theatre mask. Let’s go!
Gather materials and workspace

Before you begin creating your theatre mask, it’s important to gather all the necessary materials and set up a suitable workspace. First, make sure you have a clean and well-lit area where you can work comfortably. A table or a desk with enough space to lay out your materials is ideal.
As for the materials, you will need a plaster cloth or papier-mâché, scissors, a craft knife, a mask template or a design sketch, a mixing bowl, water, and a brush. It’s also a good idea to have some newspaper or a plastic tablecloth to protect your workspace from any potential mess.
By having everything readily available and setting up an organized workspace, you will be able to work efficiently and enjoy the process of making your theatre mask.
Materials for Theatre Mask
- Clay or paper mache
- Sculpting tools
- Paint and brushes
- Reference images or sketches
- Work surface or table
- Protective gear (gloves, apron)
Create a design sketch
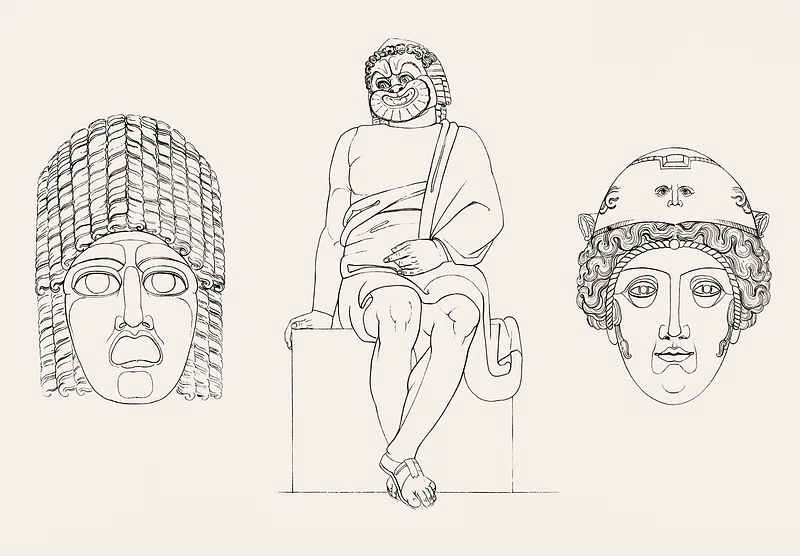
Once you have gathered all your materials and set up your workspace, the next step in making a theatre mask is to create a design sketch. This is an important step because it allows you to visualize your ideas and plan out the details of your mask.
Start by sketching the basic shape of your mask on a piece of paper or using a digital drawing app. I recommend the free version of Canva if you want a browser-based app with a lot of pre-installed design materials.
Consider the character or theme you want to portray and incorporate elements that reflect that. Experiment with different facial expressions, contours, and features to bring your mask to life.
Remember to take your time during this process and make any necessary adjustments until you are satisfied with your design. Having a well-thought-out design sketch will serve as a blueprint for the rest of your mask-making journey.
Design Sketch Items
- Pencil
- Paper
- References/Images
- Color palette
- Mask template
- Inspiration/mood board
Create a mold to work on

Once you have finalized your design sketch, it’s time to bring your theatre mask to life by sculpting the mask’s base.
The first thing you need is a head to work on. You can either purchase a generic head made of polystyrene or plastic, use a balloon blown up to mimic the size of a person’s head, or, if you want to work on a real person’s face, you will need the help of a friend. Ideally, you should work on the face of the intended mask wearer.
If you go the real person route, then you’ll need to make a negative mold of the person’s face using plaster strips. Make sure you purchase plaster strips that are non-toxic and skin-safe!
If you can find someone to work with, then you can have your friend sit comfortably, apply a layer of vaseline to their face, particularly thick over the eye lashes and eye brows. This will help when removing the plaster mold. I also recommend applying a layer of saran wrap over their hair to protect it from the plaster. Make sure they are wearing old clothes or use a towel to protect their clothing.
Next, you cut the plaster strips, then one-by-one soak them in water and apply them to the subject’s face. You will need to build up several layers for a strong result.
When you apply the strips, make sure you leave holes around the nostrils to allow the person to breathe! It’s important to communicate during the process to check on how the person is feeling. Make sure you extend the mold down to the neck, around the ears and over the forehead. Covering more area of the head will help you create a deep positive mold later on.
Once you have finished applying the plaster strips, you can speed up the drying process with the help of a hair dryer. Keep it at a distance, though, because cracks will form if it’s too close. Once the negative mold is set, remove it carefully and leave it to dry overnight.
The next step is to fill the negative mask with plaster mix to form a positive mold. There are different types of plaster, just find one that you like. I prefer plaster of Paris. Don’t forget to reapply some vaseline to the inside of the negative mold before pouring your plaster, otherwise it can be tricky to separate the two casts.
Leave the positive mold to dry thoroughly (1-2 days) before moving on to the clay sculpting stage.
Mold making steps
- Gather materials and tools
- Create a negative mold using plaster strips on top of a face
- Fill the negative mold with plaster to create a positive mold
- Use the positive mold as the base for creating the mask in the next step
Sculpt the mask’s base
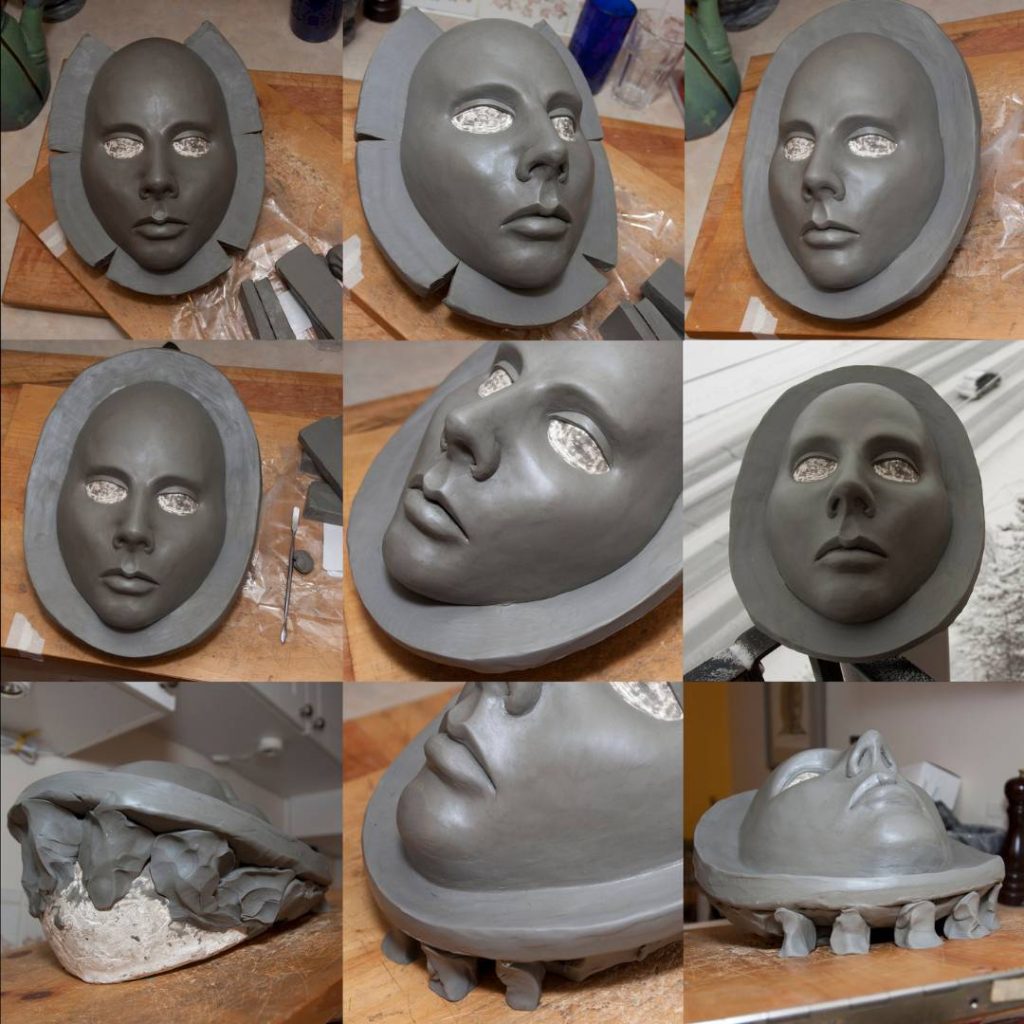
Revisit your original drawing and start molding clay into a rough, flat oval shape over your positive cast. Use your fingers or tools to gently mold and sculpt the clay, focusing on creating the basic contours and features of the mask. Pay attention to details such as the nose, cheekbones, and jawline to accurately represent your character or theme.
Continuously refer back to your design sketch to ensure you are staying true to your vision. You can revive the clay with a sprinkle of water if it starts to dry prematurely.
Once you are satisfied with the shape and details of the base, allow the clay to dry or harden according to the manufacturer’s instructions. This will provide a sturdy foundation for the next steps in creating your theatre mask.
My advice here is to make the facial features somewhat exaggerated. The bolder the form, the more impact it will have on stage. Tiny details won’t be visible. So make every feature and contour as strong and pronounced as possible.
Mask sculpting steps
- Create a clay base for the mask on top of the positive mold
- Smooth out any rough edges
- Add details and texture to the base
- Let the mask mold dry and harden
Creating the mask
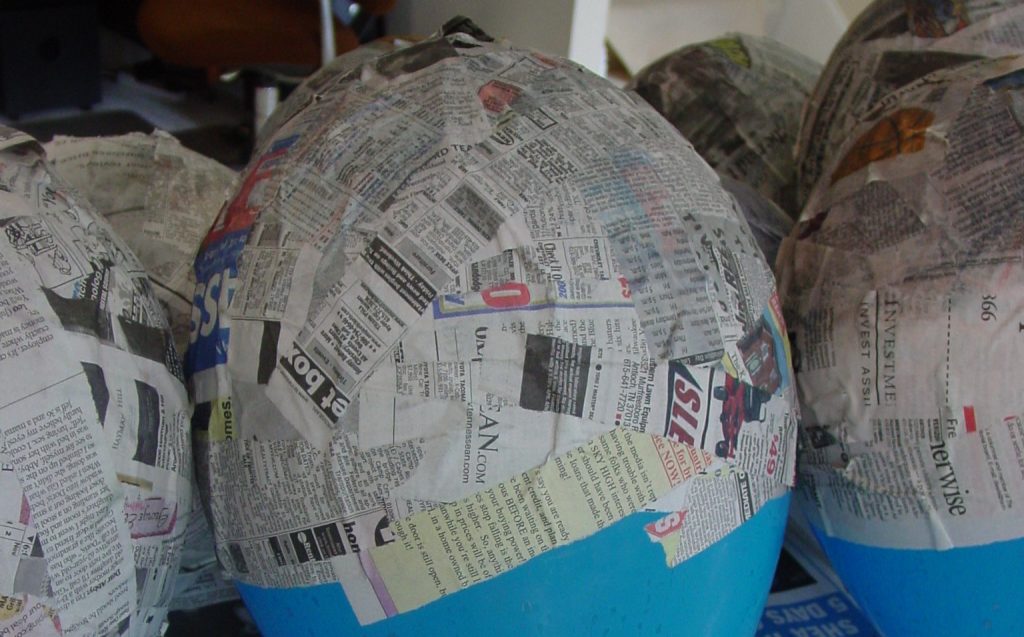
To create the mask you can use different materials. Latex, leather, and papier-mache are the most common. Papier-mache is the cheapest material to work with.
To create papier-mache, you need some newspaper and some form of glue. I recommend potato starch as a cheap and eco-friendly alternative. It’s easy to work with.
Cut the newspaper into small strips. Mix a batch of the starch with water into a thick and viscous paste and begin layering the wet paper over your mask mold. Make sure you build the mask as deep as possible. You can always cut away excess material later on.
Build up multiple layers of papier-mache to give the mask form and strength. This step is trial and error. Obviously, the more layers you add, the heavier the mask becomes. Be prepared to try several attempts at making masks at this stage.
Once your papier-mache is done. Leave it to dry overnight. Then you can gently sand it down using fine-grit sandpaper to remove any rough edges or uneven surfaces. Be careful not to apply too much pressure, as you don’t want to accidentally reshape or damage the mask.
Once the rough areas have been smoothed, use a damp sponge or cloth to wipe away any dust or debris. Next, apply a thin layer of a suitable filler material, such as a sculpting paste or putty, to fill in any deeper imperfections or gaps. Use a small spatula to apply the filler, and then smooth it out evenly across the surface of the mask. Allow the filler to dry completely before proceeding.
Once dry, lightly sand the filled areas to ensure a seamless finish. Give the entire mask a thorough inspection and touch-up any remaining imperfections with additional filler or sanding, until you achieve the desired smoothness. Use a craft knife or sharp scissors to cut away any excess papier-mache. Remember to take your time and be patient throughout the process to create a beautifully crafted theatre mask.
Mask perfection tips
- Sandpaper for smoothing rough edges
- Paper mache for filling in gaps
- Primer for a smooth base coat
- Paint for covering blemishes and imperfections
- Fine-tipped brushes for detailed touch-ups
Painting the mask
After completing the necessary smoothing and filling steps, it is crucial to let the mask dry completely before moving forward. This allows the filler material to set and ensures a solid foundation for the painting and finishing stage of the mask-making process.
Find a well-ventilated area, preferably with low humidity, to place your mask and let it air dry naturally. Avoid using any artificial heat sources, such as hair dryers or ovens, as this can cause the mask to warp or crack. Depending on the type of filler used and the environmental conditions, drying times can vary from a few hours to overnight.
To ensure proper visibility and comfort while wearing your theatre mask, it is essential to cut out eye and mouth holes. Using a sharp craft knife or scissors, carefully trace the shape of the eyes and mouth onto the dried and sanded mask. Take your time to make precise cuts, following the marked lines, ensuring they are large enough for easy breathing and clear vision.
With the eye and mouth holes now cut out, it’s time to unleash your creativity and paint and decorate your theatre mask. Start by selecting a color palette that complements the character or theme you are portraying. Acrylic paints are ideal for this project as they offer vibrant colors and are easy to work with.
Begin by applying one or more base coats to the mask in a neutral color (light gray for example), covering the entire surface. Allow it to dry completely before moving on to the next step. Once the base coat is dry, you can start adding intricate designs, patterns, or details to enhance the mask’s appearance.
Consider using small brushes or even sponges to achieve different textures and effects. Don’t forget to let each layer of paint dry before adding additional layers or colors. Once you’re satisfied with the design, seal the painted mask with a clear varnish or sealant to protect it and give it a glossy finish.
Finally, consider adding embellishments like feathers, sequins, or gems to add an extra touch of glamour and theatricality to your mask.
Mask painting and decorating supplies
- Paint brushes
- Acrylic paint
- Sealant
- Sequins
- Feathers
Add elastic or ribbon straps
To ensure a secure and comfortable fit, adding elastic or ribbon straps to your theatre mask is an important step. Start by measuring the appropriate length of elastic or ribbon needed to fit around your head, ensuring a snug but not too tight fit. Cut two equal lengths of elastic or ribbon, making sure they are long enough to reach from one side of the mask to the other. Attach one end of each strap to the sides of the mask using glue or stitching, ensuring they are securely fastened. Test the fit by placing the mask on your face and adjusting the straps if necessary. Once you are satisfied with the fit, trim any excess length from the straps. Now you can confidently wear your theatre mask, knowing it will stay in place during your performances.
Mask straps
- Elastic or ribbon
- Scissors
- Measuring tape
- Sewing needle
- Thread
- Mask template or pre-made mask
Congratulations, you have successfully learned how to make your own theatre mask! Whether you are a theatre performer, an art enthusiast, or simply looking for a fun DIY project, making your own theatre mask can be a fulfilling and exciting experience. Remember to be creative and experiment with different materials and techniques to make your mask unique. Now, go ahead and showcase your new mask on stage or display it proudly as a piece of art. The possibilities are endless, and with your new skills, you can continue to create and bring your own character to life. Happy crafting!
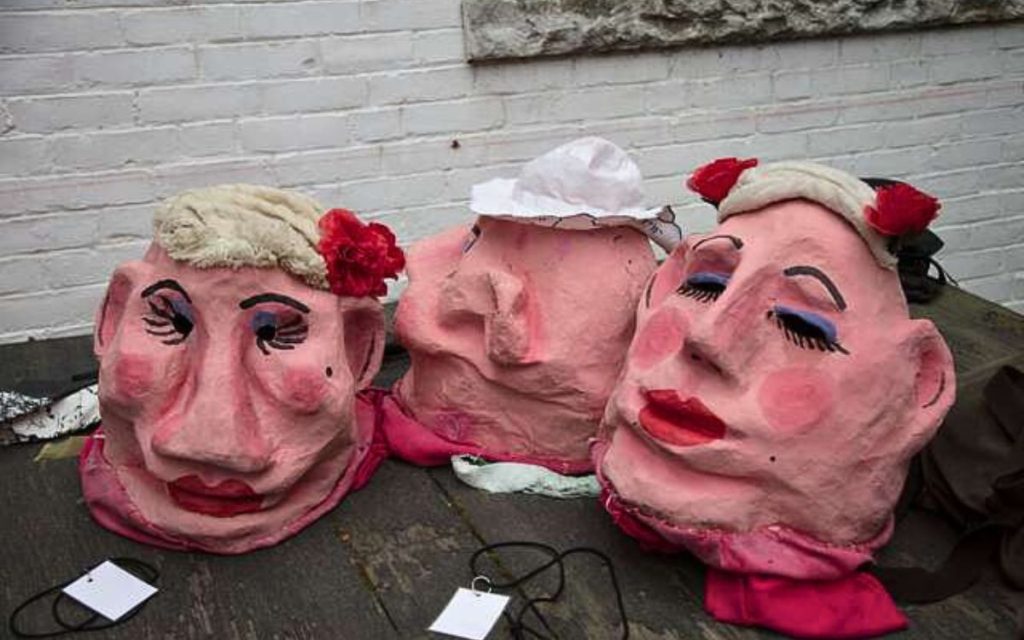
Examples of papier-mache masks


FAQ
What materials are typically used to make a theatre mask?
The materials typically used to make a theatre mask include plaster, clay, papier-mâché, latex, and leather.
What are the basic steps involved in creating a theatre mask from scratch?
The basic steps include designing the mask, making a face mold, sculpting the mask in clay or other suitable materials, making a mold of the sculpted mask, pouring liquid latex or other mask-making material into the mold, allowing it to dry and solidify, removing the mask from the mold, and finally painting and finishing the mask to desired specifications.
Can you provide any tips or techniques for achieving different expressions or emotions with a theatre mask?
To achieve different expressions or emotions with a theatre mask, focus on core facial dynamics. Emphasise the parts of the face that have volume and form. The cheeks, the nose, the mouth, the eyes etc. If your mask is for use on stage, make sure you really emphasise those features in the creation process. Masks often feel “flat” on stage, because they lack strong features.
Are there any specific tools or equipment that are necessary for making a theatre mask?
Yes, there are specific tools and equipment necessary for making a theatre mask. Some common tools include sculpting tools (such as clay modeling tools or carving tools), a heat gun or hairdryer for drying the mask, a mask mold or template, and materials such as clay, plaster, or papier-mâché for constructing the mask. Additionally, paint, brushes, and other artistic materials may be required for adding details and colors to the mask.
Are there any safety considerations or precautions to keep in mind when working with materials or tools for theatre mask-making?
Yes, there are safety considerations and precautions to keep in mind when working with materials or tools for theatre mask-making. Some materials, such as certain types of adhesives or solvents, can release harmful fumes, so it is important to work in a well-ventilated area or wear a respirator if necessary. Additionally, cutting tools such as knives or scissors should be handled with care to avoid injuries. It is also important to follow the manufacturer’s instructions for any specific materials or tools being used, and wear appropriate protective gear, such as gloves or safety goggles, as needed.
Useful books on theatre mask-making
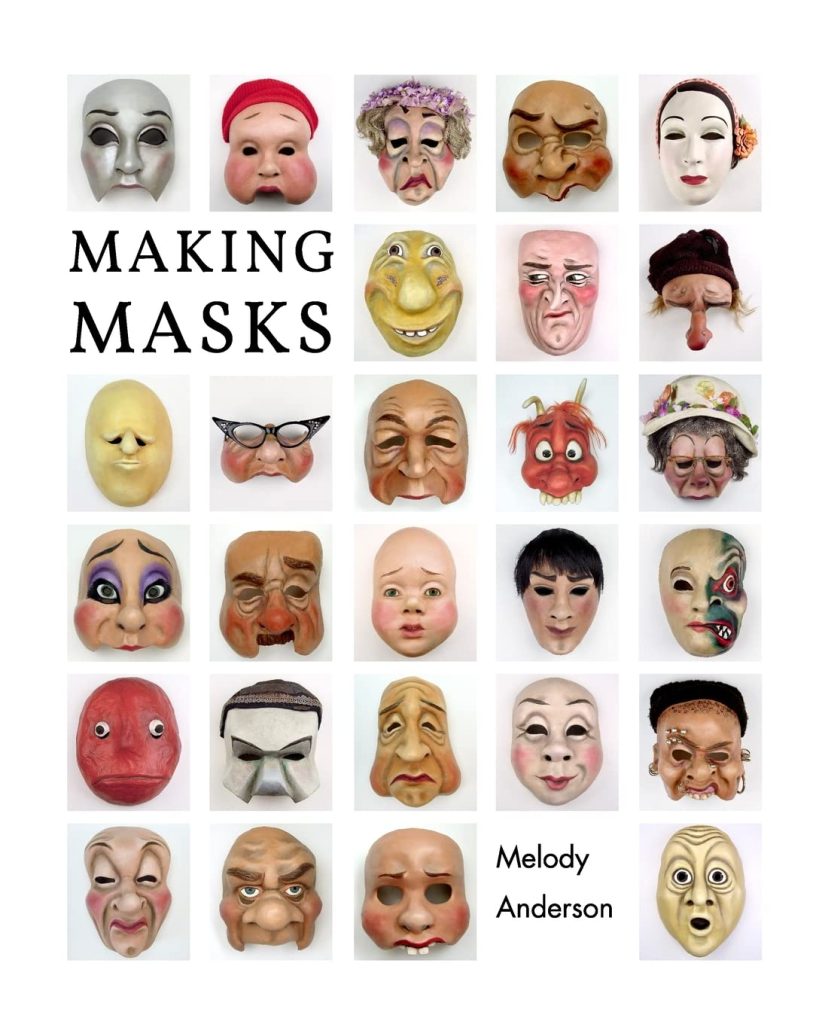
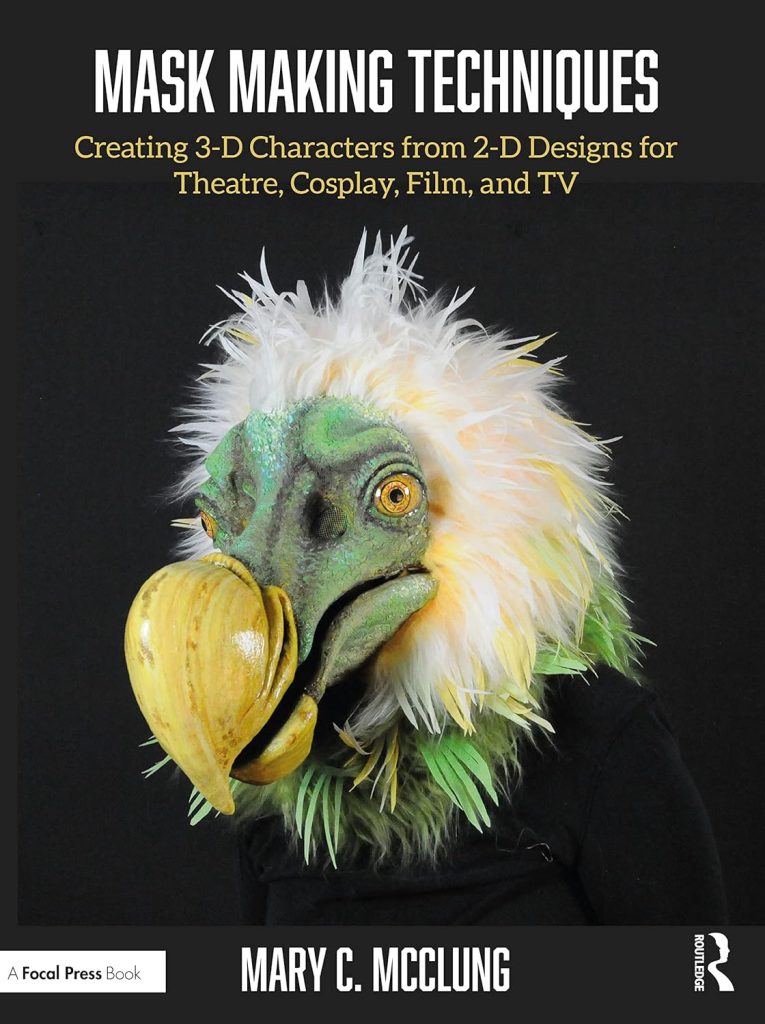
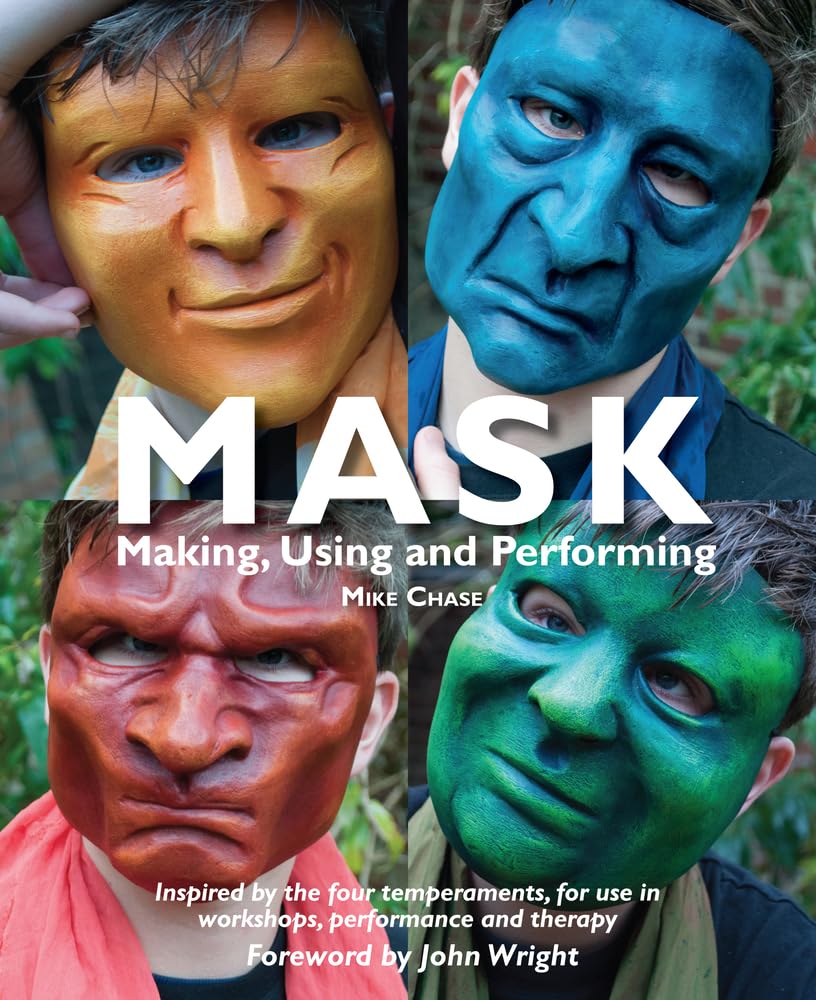
Here are three excellent books that go into much more depth on mask-making. These are all available on Amazon.
